Here is a sneak peak of what the top down map will look like. The scale will be 10 ft/pixel!
Rendering is mostly done. The terrain is sliced horizontally into three parts each rendered @16K, and then stitched together in Photoshop.
Next phase is Photoshop editing, adding some details, paint over some ugly parts and general touch up.
This sneak peak is a composite of raw renders straight from World Machine, which works great for top down views. But the final map requires more than that!
Coming up soon:
A full report for everyone will be up in a few days.
Time to start planning the next project, so I will post about that for Trailblazers and Cartographers tomorrow.
Next "How to" post for Cartographers will come later this week when renders are done.

The World Machine file have gotten bit more complicated. We now have 7 Layout Generators and 7 child groups in the Terrain Group.

You can download the file here:
https://www.dropbox.com/s/xihuo4hhzplmuri/Crater%2010K-8.tmd?dl=0
This file requires the use of World Machine Developer Build 3016. If you're a licensed WM user you can download it here:
https://update.world-machine.com/upgrade.php
The small craters dotting the landscape are using the Localspace feature.

I have masked the Localspace Scatter Device using a Layout Controller as sen in the image above. Layout Generators often have a tendency to have sharp edges even when you use a falloff, so I'm using a Blur Device to smooth the edges.
There are some texture devices and an Overlay Device in the Craters Child Group. I grabbed this whole group from one of the examples files and it came with the texturing devices. They will be good to have in the next stage so I kept them, but they are not needed to create the terrain.
The other terrain type child groups are basic and straight forward. The bottom one that I forgot to name is just added erosion. This terrain is supposed to be a very harsh rough landscape, but still want added erosion in certain places, this setup will do that.
The big crater is done using two Layout Generators and a set of shapes.

Try and use a combination of shapes with different Height, Falloff and Falloff Profile Curve settings to create a natural range and diversity in the landscape. Combine several terrain types and vary the erosion.

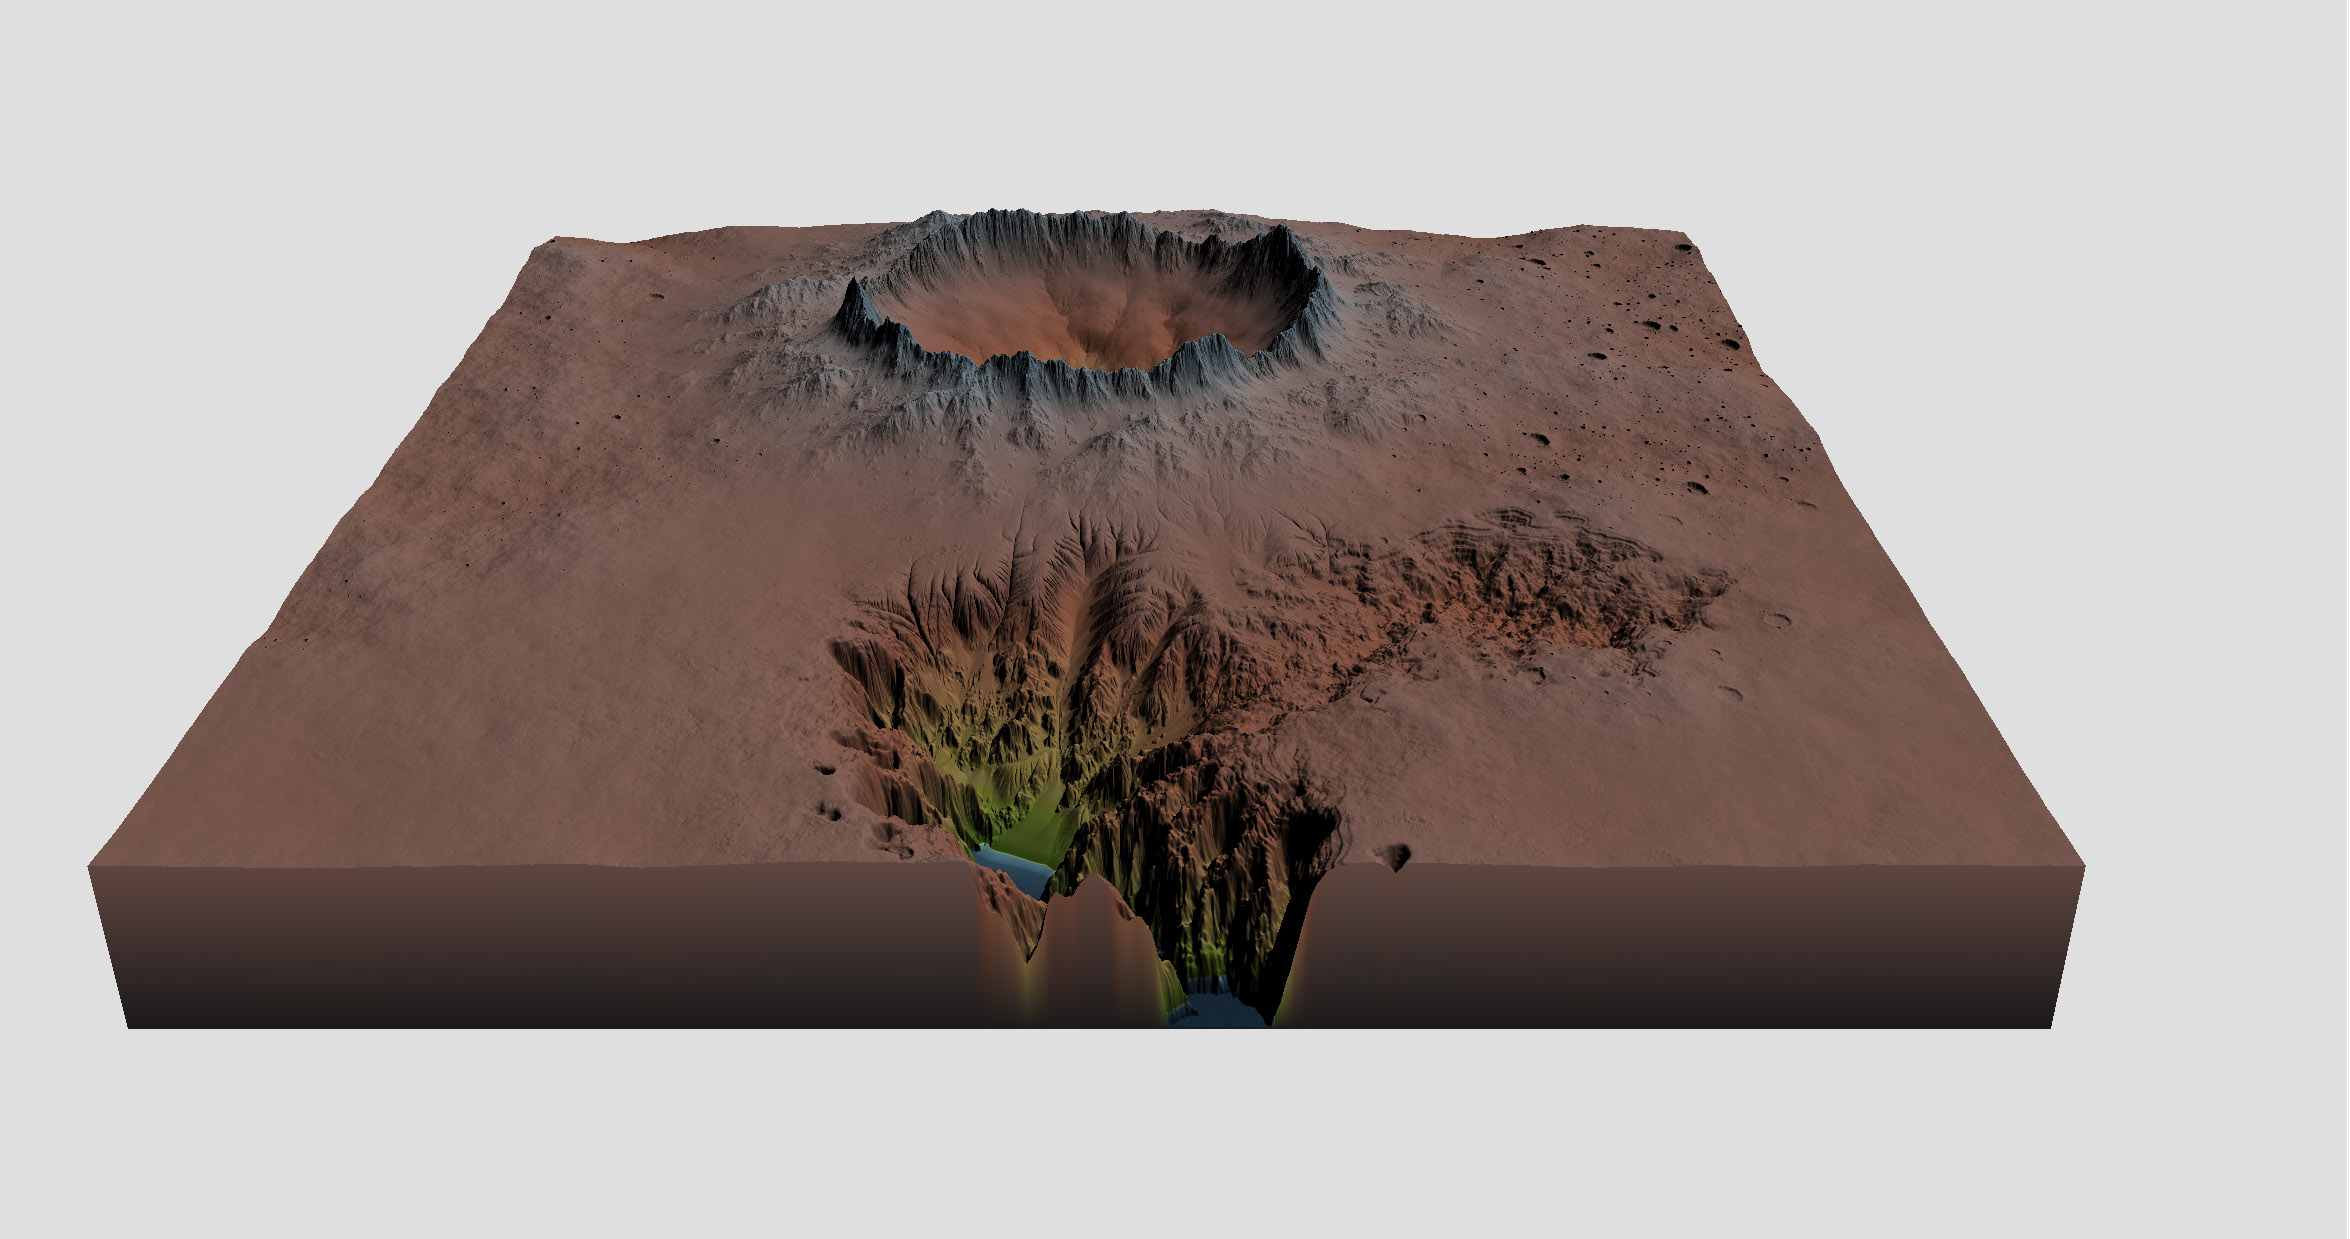
Last week was the setup, now its time for step two: building the terrain. In this project that is rather strait forward. A large crater, a huge deep canyon and the necessary surroundings.

A piece of harsh terrain 30 miles across, that looks even more barren without proper colors and textures. What you see here is one of the elevation color sets I use during my terrain development.
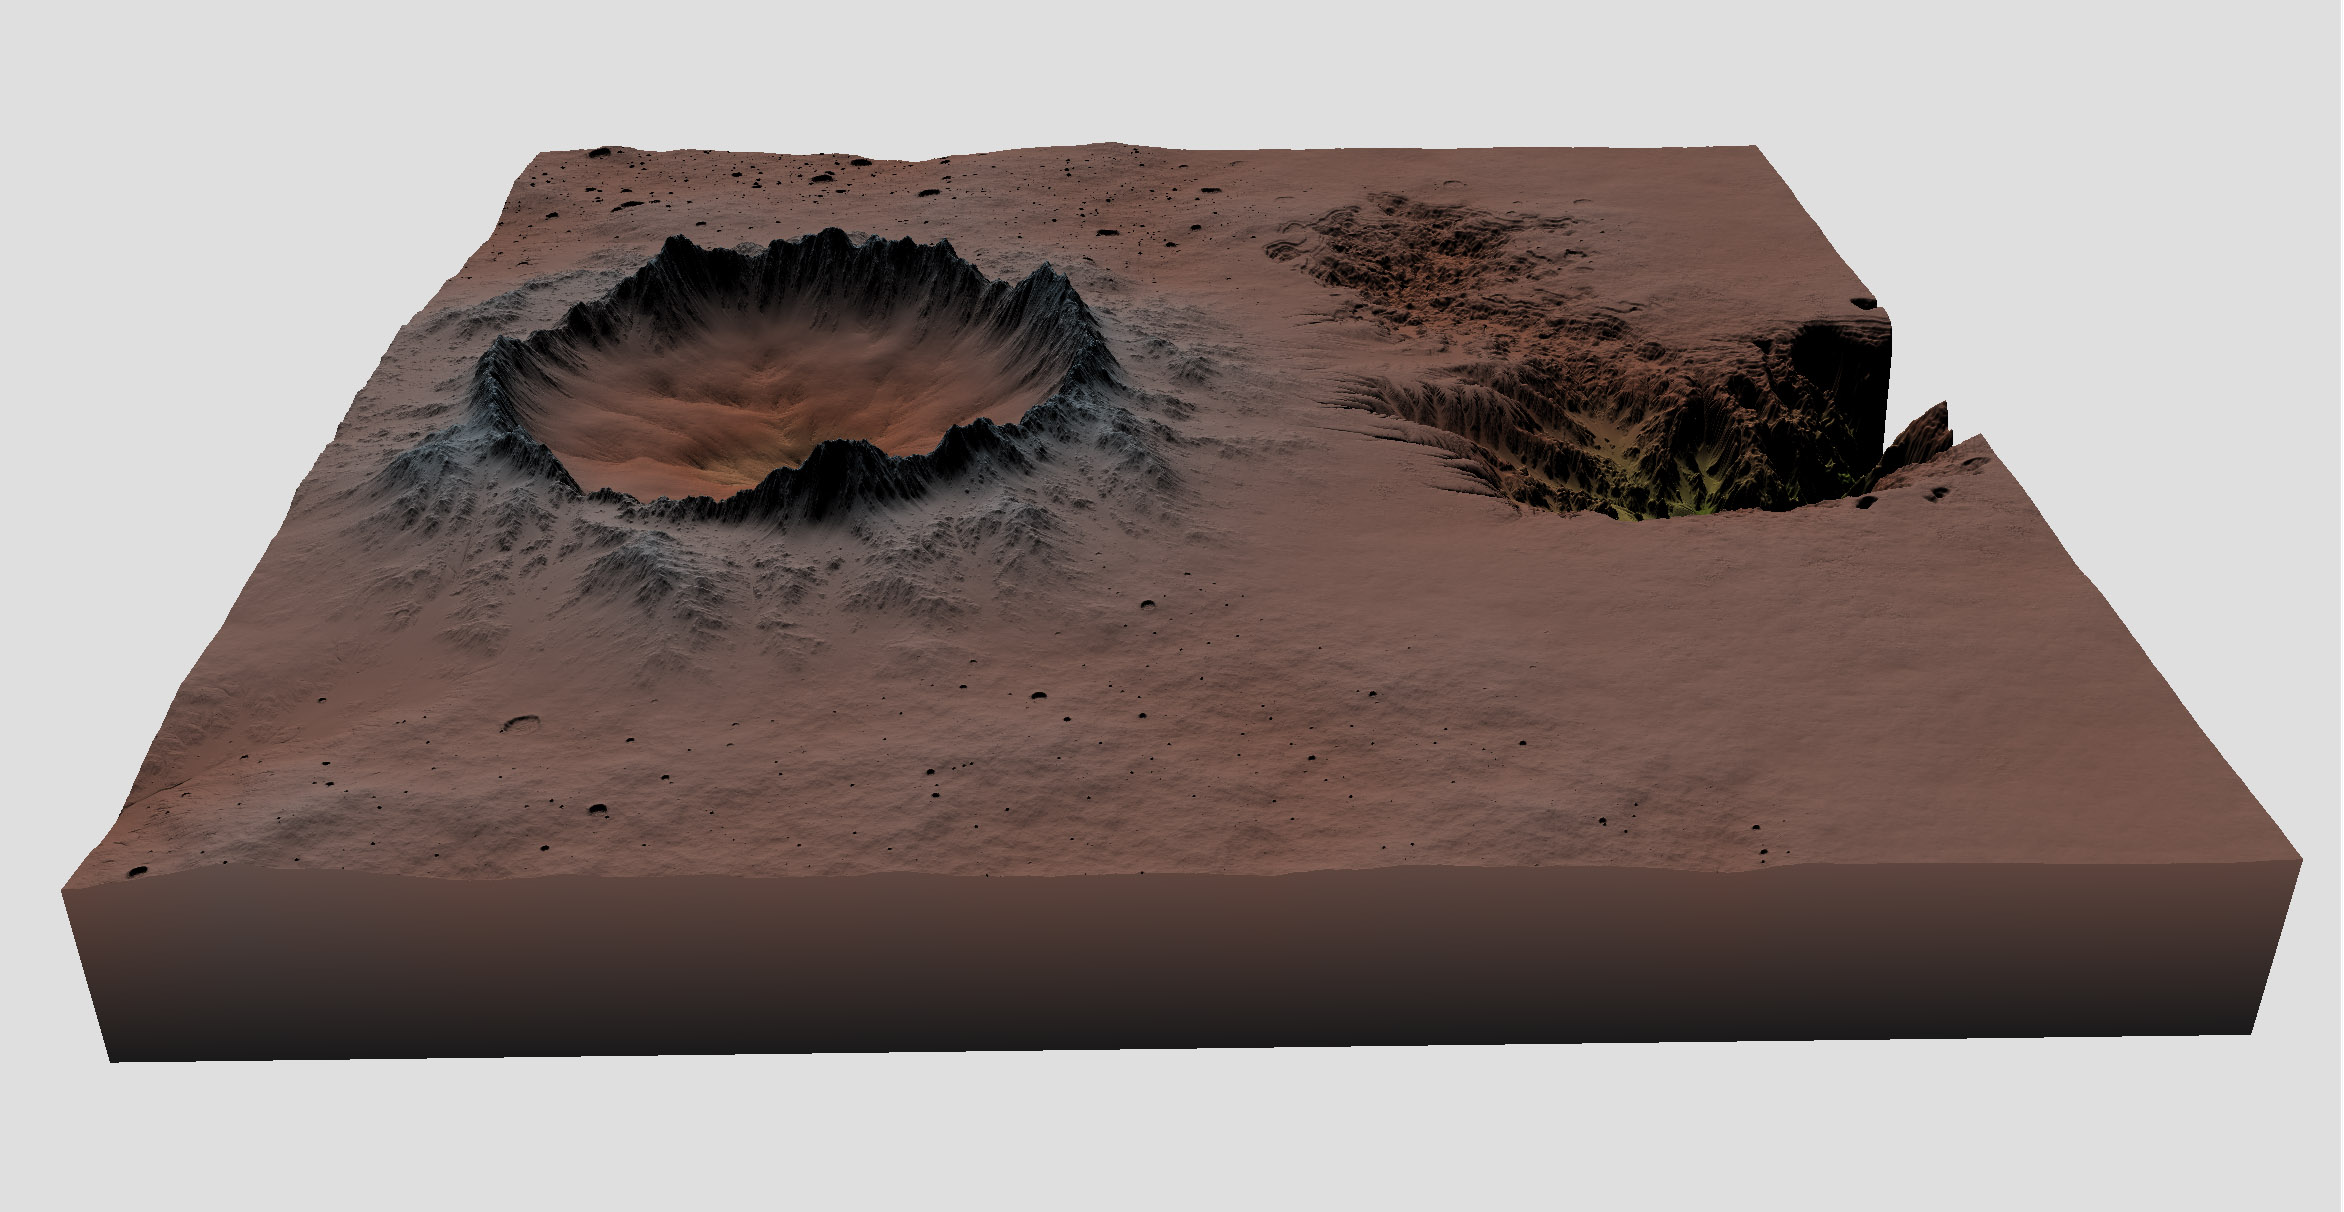
For this terrain I'm using five different terrain types plus randomly scattered small craters and one type manually applied extra erosion.
Future projects might be suing many times that, my Midgard project uses 12 plus 10 special added features.

There are a few more special features I want to add to this terrain, but I will wait with them until later.

The next step is to take this elevation model and give it the proper look using colors and textures.
More on that soon!

A first sneak peak of the Crater terrain taking shape. The terrain is 50 km (30 miles) across and the crater rim reach more than 20 000 ft up from the surrounding plains.
Time to dig into the details on how to visualize a Fantasy World in 3D glory!
In this case we will create a landscape from scratch and not one based on an existing map or story, so no need to use a reference map. How to use a reference map will be part of one of the next projects, lets keep it simple for now 🙂
The first step is to create the 3D terrain. My go to application for this is World-Machine which uses visual flow chart programming, making it highly flexible. But starts with an almost empty sheet, which is daunting for most, I remember my first struggles with trying to figure out the basics.
To learn the basics I highly recommend Discovering World Machine Video tutorial by Geekatplay and can be found here.
If you can't resist and look at some of the advanced WM courses at Geekaplay, I encourage you to do so you will learn a lot that will be needed as we progress here. Geek at Play tutorials shows you how to create a great looking terrain and give it appropriate colors. That is great but we want to do so much more than that!
Our aim is to create large maps with realistic features that incorporate a ultimately a whole world and all its glory. This requires a more advanced setup that leaves room to add components as needed, and a myriad of export formats, reference maps, layout input and a bunch of controllers.
The mission for today is to create the basic framework for all this!
The first thing to do is to do the General Setup. You can find it under the World Command Menu as Project World Parameters. The General Setup Tab I'm set things like this:

The two things that requires attention here is Terrain Altitudes, Base Elevation and Dimentionality.
Terrain Altitude in this project will be 10 000 m, WM uses either Kilometers or Internal units so lets stick with Kilometers. Since there will be no ocean depths in this project set the Base Elevation to 0 m.
Next step is to set up the Device Network. Below is a screenshot of what it looks like:

The network for this project is basic, three groups: Controllers (purple), Terrain (green) and Output (red).
The Controllers Group have now only two Layout Generators. More will be added as the project progresses.
The Terrain Group have Child Groups for different types of terrains (plains, highlands, lava fields and so on). Right now there are only two Child Groups, more will be added as we progress.
The Output Group only has a Heightmap Export Device and an overlay View Device. There will be more for textures, elevation maps and more, in the future.
This was a walk through of the setup and basic Device Network. Next post will be a look at each of the Terrain Types......
25 Backers already, I'm honored by your support, but lest get to work!
I'm setting up shop today, creating the files, getting settings right and the very basics in place in order to create a piece of harsh terrain that could be evil badlands, a desert or another planet.
No water or vegetation in this project. Just the basics to get the grip on the basics, and then introduce more complications one at a time.
Software used in this project will be World Machine, GeoGlyph 2, Photoshop CC, Vue and 3D Map Generator for Photoshop.
The 3D Map Generator is a novelty for me but seems it could be a great fit so I'll try and learn to used it as part of this project. Despite its name I'm not going to used it to generate 3D data, but it seems like a great way to present it in Photoshop, so I'll try and use it and we will so how it turns out.
The time frame for this project is 4-6 weeks with weekly summaries available for everyone and a more in depth post for all backers.
Trailblazers and Cartographers will receive postings several times a week with more details.
Cartographer Backers will get files, macros and setting information so you can develop your own project along side mine. Most of the Software I'm using for this project have free or non-expensive versions that you can use to learn and even create with.
This project will focus on how to use these tools to create terrain and maps. If you want to get ahead and get up to skills on these tools I suggest you head to http://www.geekatplay.com and take a look at the beginners video tutorials, which are free.
If you just want to see some results, please just hang in there and it will stat coming in a couple of weeks.
If you want to get hold of me, don't hesitate to send me a private message through Patreon or email: anna@ghmaps.net!
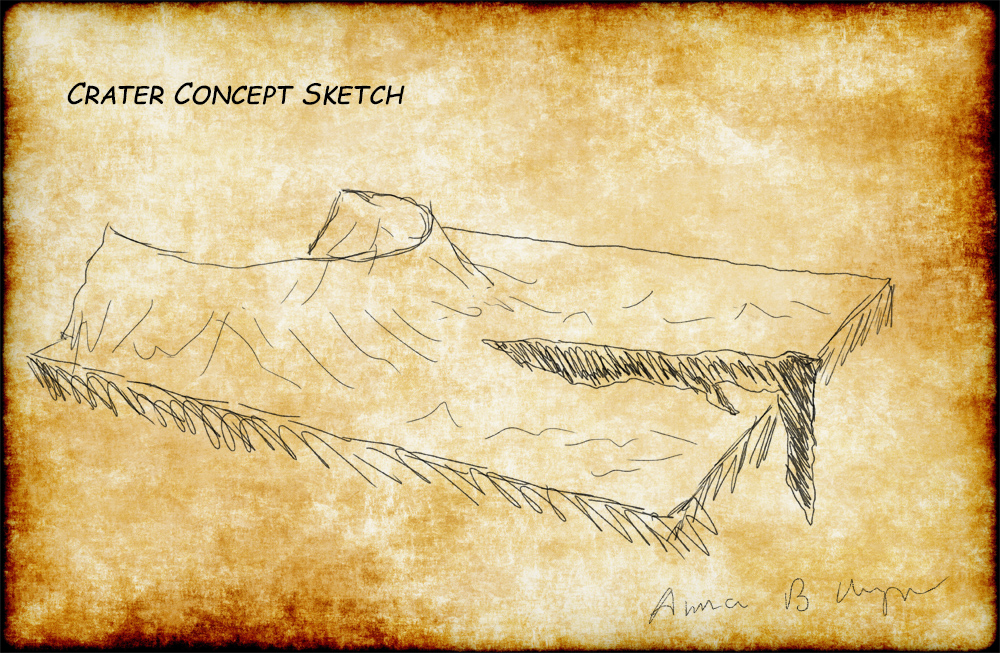
Time for a first look at the Project 1: Crater

It will be a crater circa 10 km across and around a kilometer deep. The sketch above shows it cut off, but the whole circle will be part of the area covered.
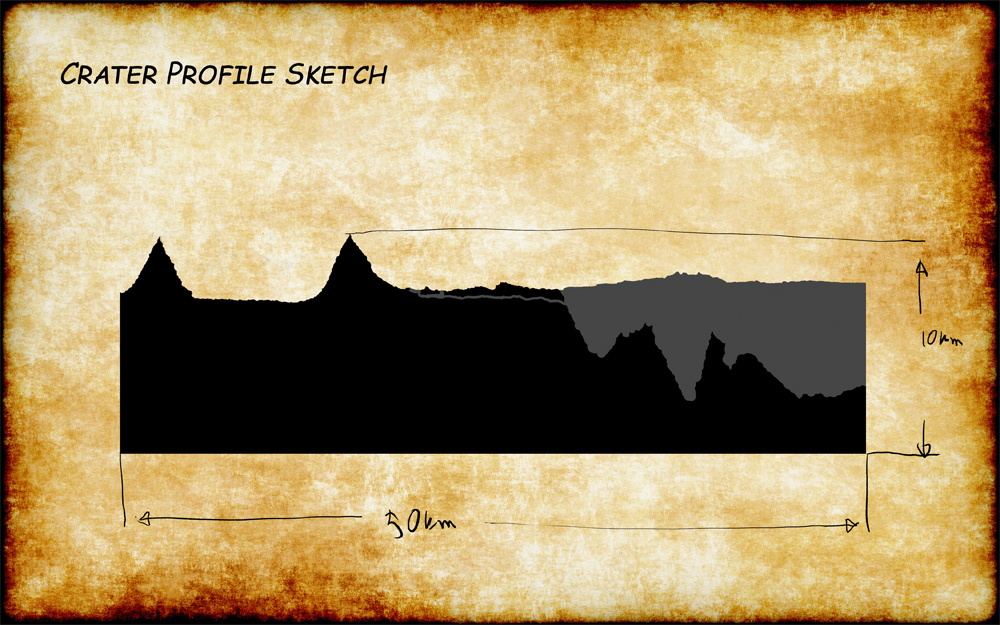
The total area will be 50 km (ca 30 miles) across. The reason I'm using metric here is that the tools I'm using works best in metric.
Other prominent features in this project will be a canyon or chasm 20 or so km long and around 5 km deep. I want to test out a large vertical range, on earth that is roughly 9 km, so a 10 km elevation range should be enough to give even a fantasy or sci-fi world enough to give the right awe factor.
On earth we have oceans that are twice that deep in addition to mountains, so this is something I will have to try and achieve as well. For this project no oceans (water or otherwise) are planned, since I want to introduce features gradually a few at the time. This project is mainly about setting scope, format and presentation. But if my elevation range tests work out well, the elevation scope for this project might be bigger than 10 km.
Some additional features like lava tubes and numerous other ideas will be added as well, and presented here as I get to them. A technical in depth description for Cartographer Backers will be posted soon when I have got the actual work under way.
A first progress report will be posted for everyone in week or so when I have some first results to show.
Thank you again for your support, we are now on a journey to build our first world together!
Hello Everyone, thank you so much for wanting to join. Thanks to You we are off to a great start!
This first post I will detail my plans for getting things started and the first steps forward.
The first project is in the early planning stage (read: in my mind) at the moment, and will be fleshed out in the coming couple of weeks. Working title will be "Crater" and I plan to have it done in November.
I want this project to set the standards for detail levels, presentation and deliver a full range of content. Everything from a highly detailed top down view, isometric 3D, cut out to show special locations.
During the time I'm working on this I plan to release a general update to all backers every two weeks with an overview of progress and where things are headed.
Higher level backers will receive more frequent updates and I will ask for your help in deciding how things should look. This projects decisions will focus on detail levels, size and resolutions, types of views.
For you Trailblazers, I will make frequent postings on technical stuff as well. So expect to post my deliberations about splicing, resolution, devices and texturing.
One of the main goal for this project is to "set the scope right", meaning properly map a piece if deliberately challenging terrain.
Choosing Crater as a first projects is so I can concentrate on the geological and put things like vegetation and rivers on hold. This time its about the terrain itself and how to best present it. Hopefully it will result in a map that can be as useful in a sci-fi as in a fantasy setting.
When we have this done right it is time to introduce lakes and rivers, forest and a whole bunch of other mapping challenges.
Lendore Isle is still scheduled to be the first Creative Commons project, but both Le Lakofka and myself have been summoned to a project yet to be properly announced. So I no firm start date for Lendore Isle yet.
A couple of projects to work out the kinks before tackling a complete location with everything is something I hope you can agree with me is workable way of start off.
Thank you again for joining!